

Muxing
If you completed the Quality stage, (not necessarily
including the purple sections) and you are encoding a
feature length movie, scroll
down to the orange
sections.
If you completed the Quality stage, (not necessarily
including the purple sections) and you are encoding a
series of episodes, scroll
down to the final
brown section.
If you did not complete the Quality stage, ignore the
orange sections.
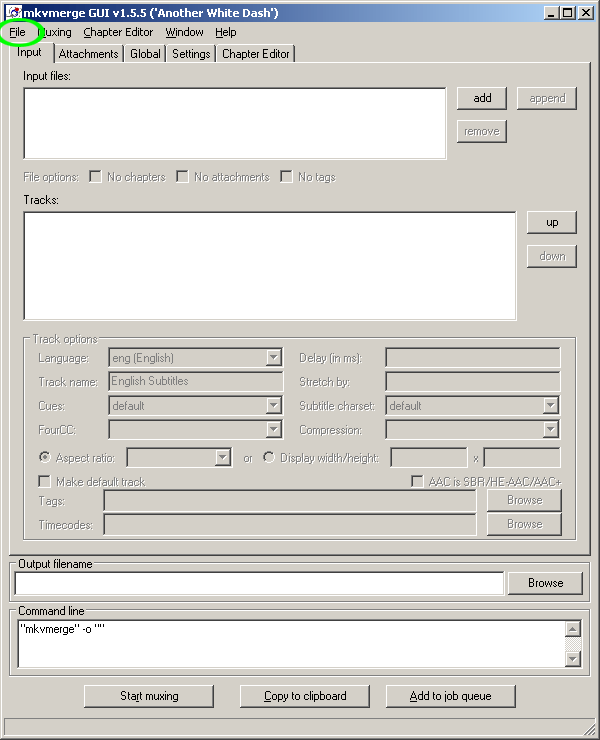
Go to the Start
menu and open
 mkvmerge GUI.
Click 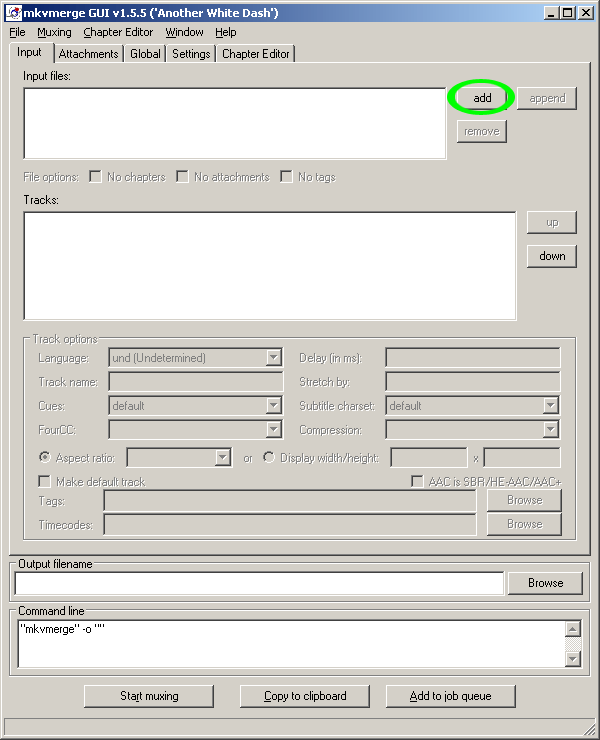 .
.
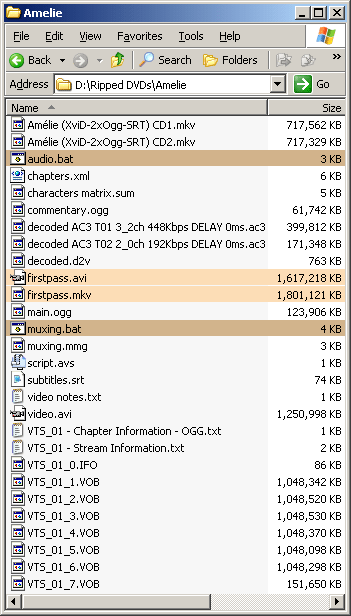
Navigate to the ripping folder and select
![]() video.avi.
video.avi.
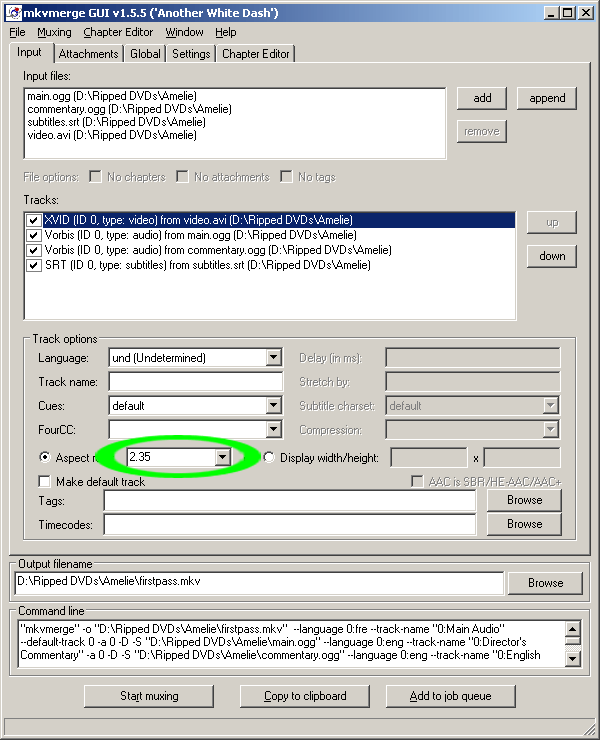
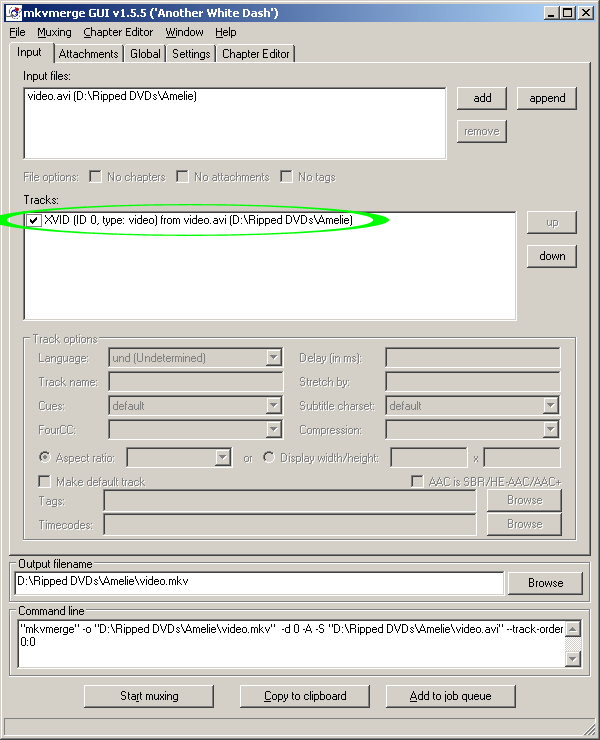
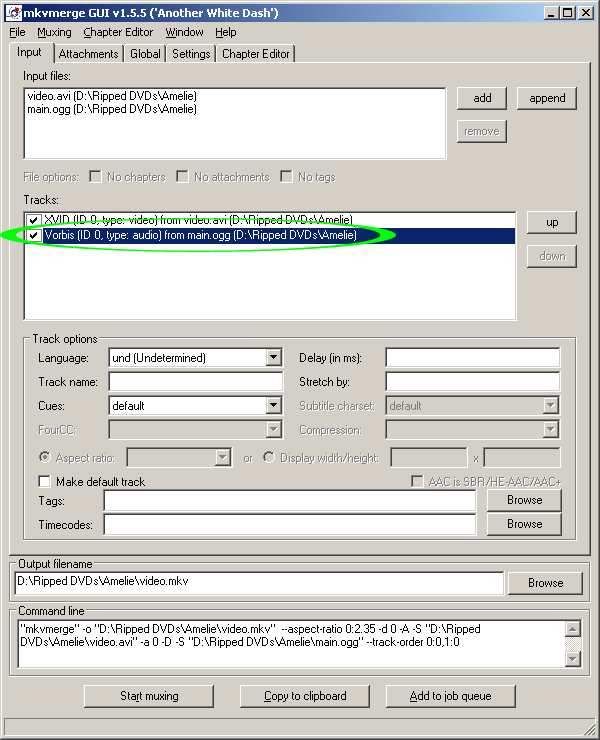
Click on video.avi in the
Tracks section to
highlight it.
Specify the
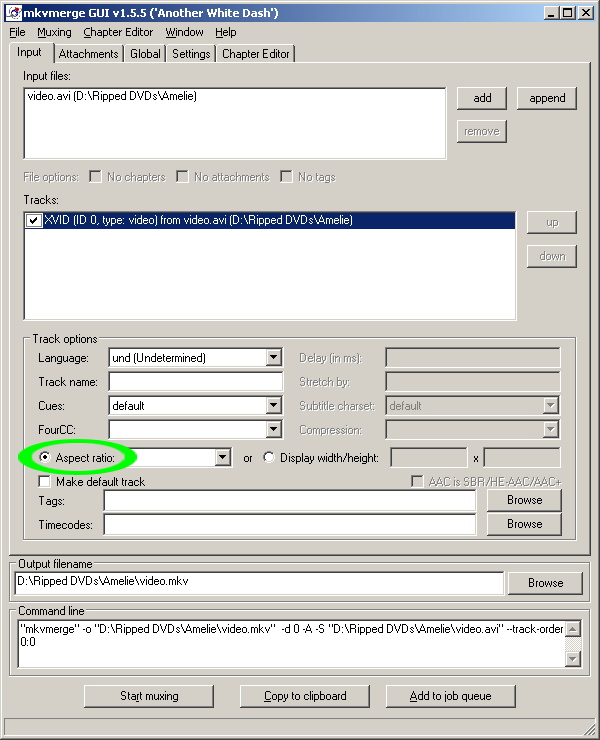 if necessary.
Open ![]() video notes.txt and
look at the "aspect ratio" line.
video notes.txt and
look at the "aspect ratio" line.
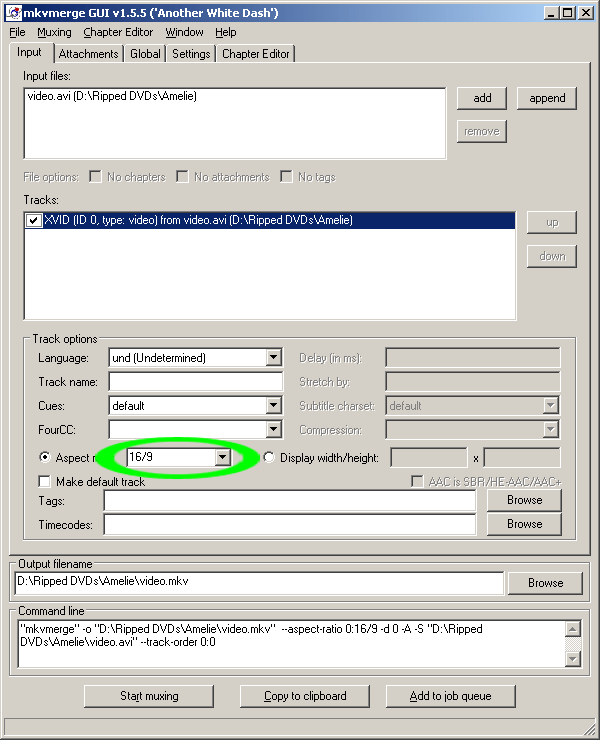
If it is 16:9, select
If it is 2.35:1, select

If there is no "aspect ratio" line, leave the field
blank.
Click
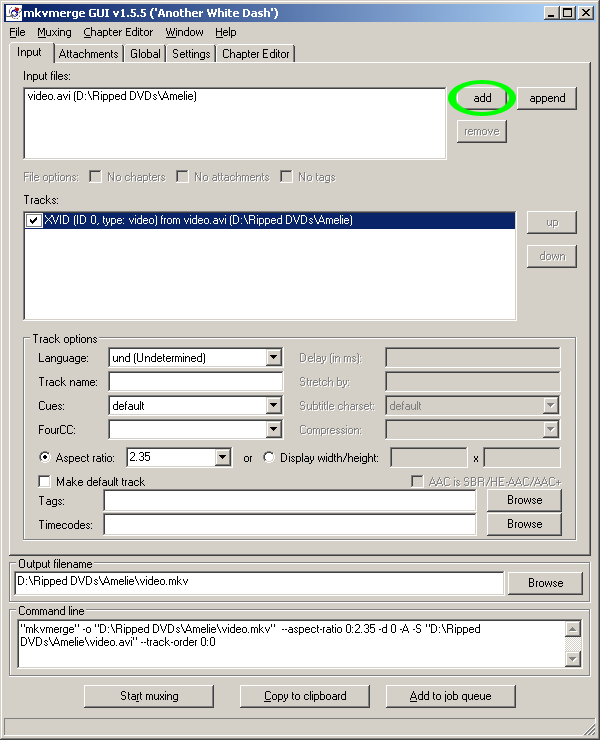 .
.
Add ![]() main.ogg.
main.ogg.
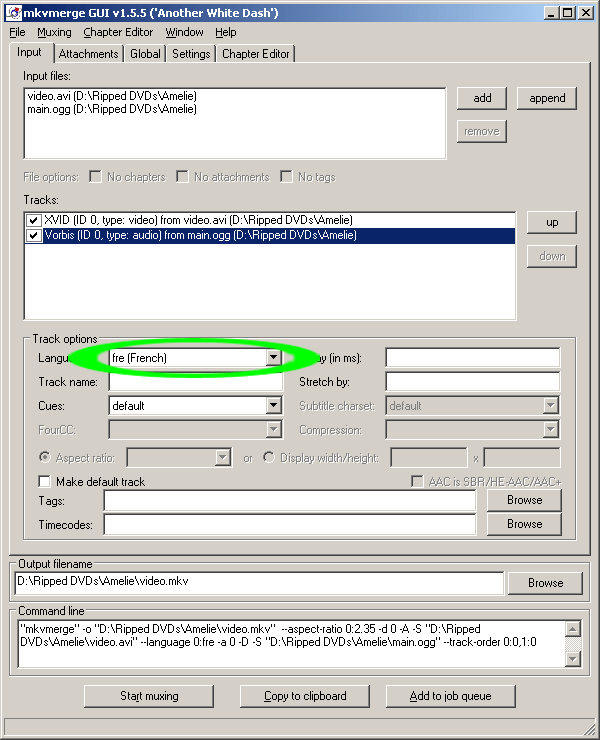
Click on main.ogg in the
Tracks section to
highlight it.
Select the proper language:
Name the track
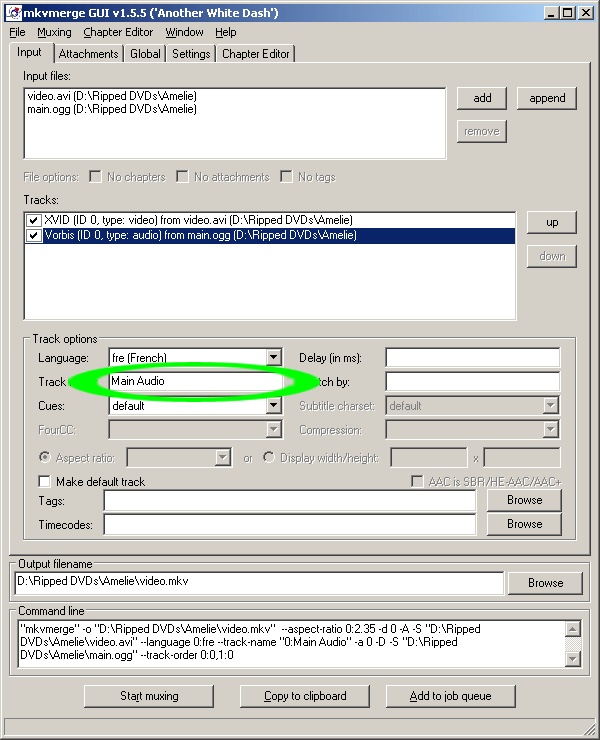 .
.
If there will be additional audio tracks, check
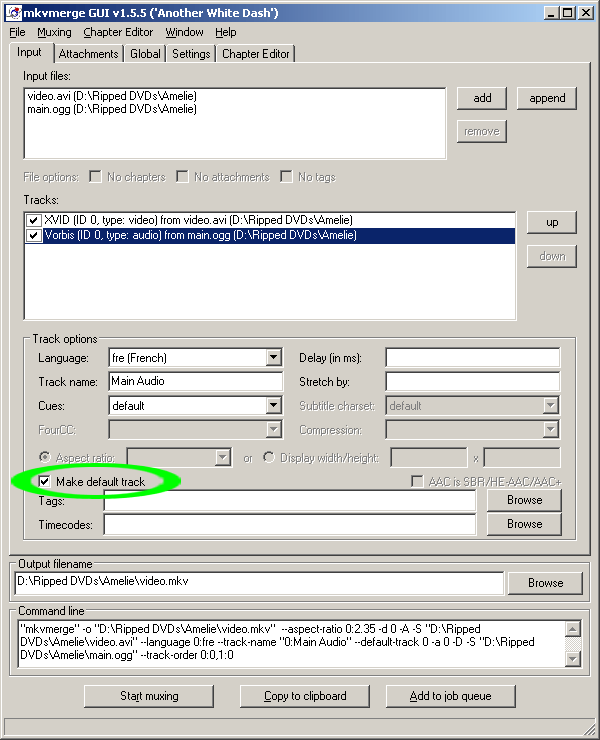 .
.

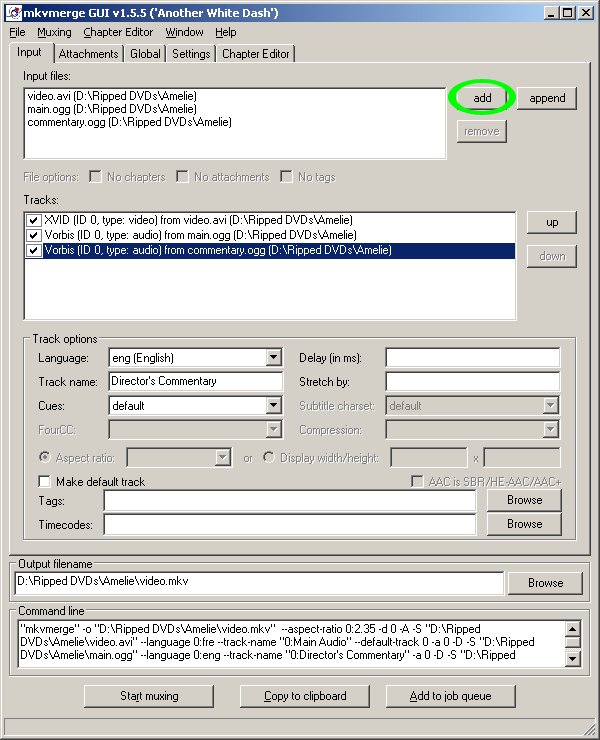
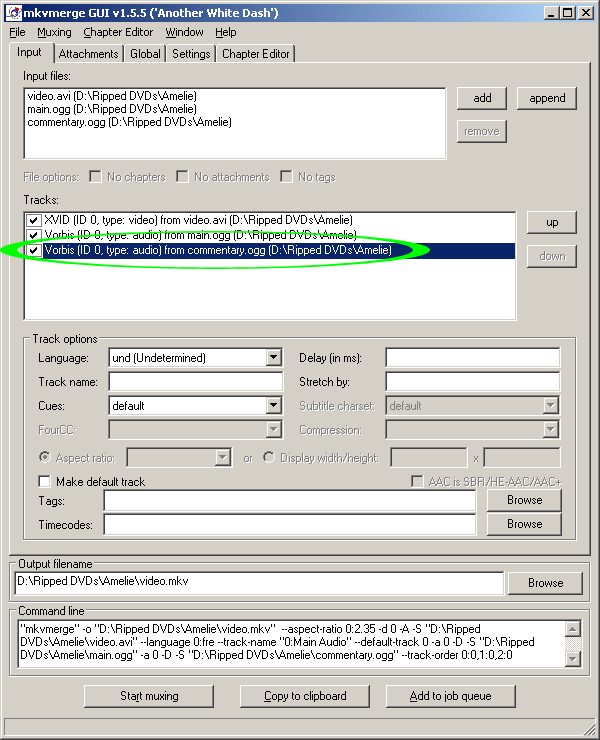
If you have a ![]() commentary.ogg file,
click
commentary.ogg file,
click
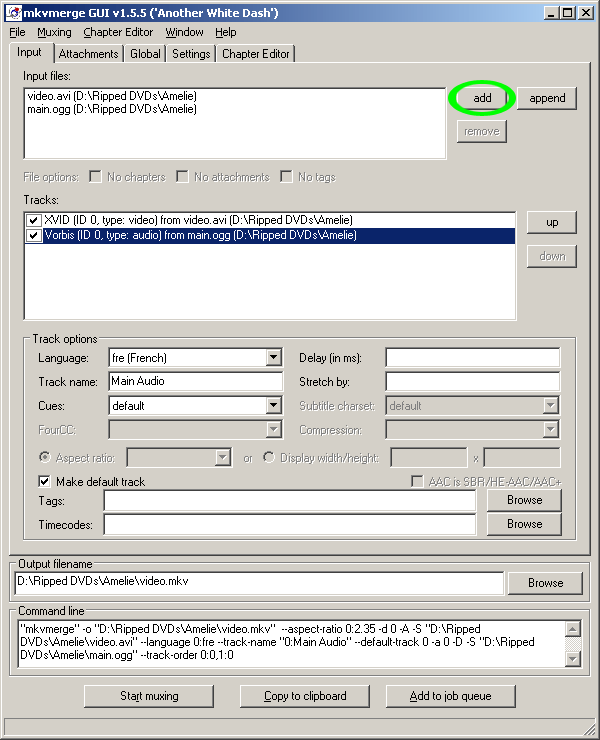 and select
it.
and select
it.
Click on commentary.ogg in the
Tracks section to
highlight it.
Select the proper language:

Name the track
 or
something similarly descriptive.
or
something similarly descriptive.
Add any additional audio tracks in the same manner,
selecting them in the order of importance.
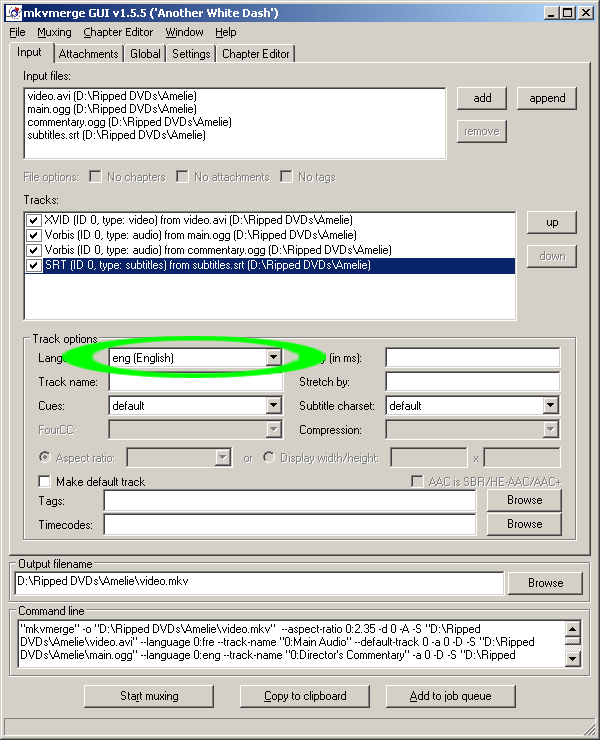
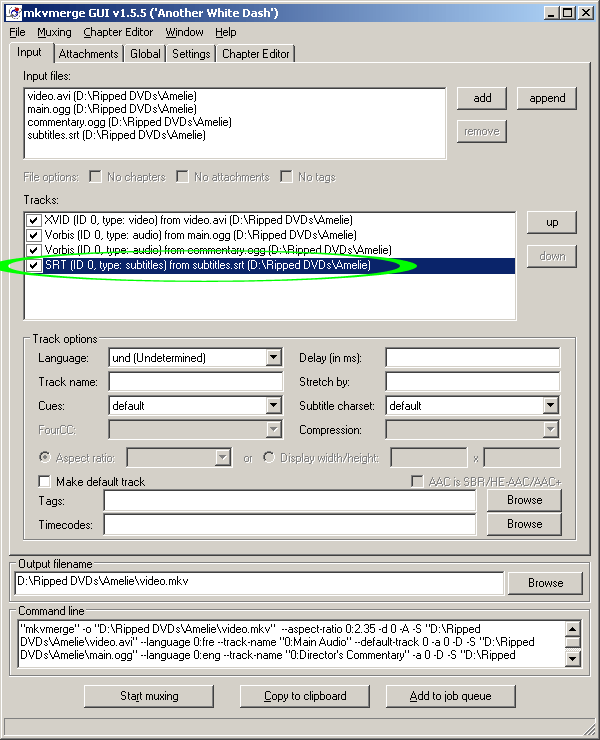
If you have a ![]() subtitles.srt file, click
subtitles.srt file, click
 and select
it.
and select
it.
Click on subtitles.srt in the
Tracks section to
highlight it.
Select the proper language:
Name the track
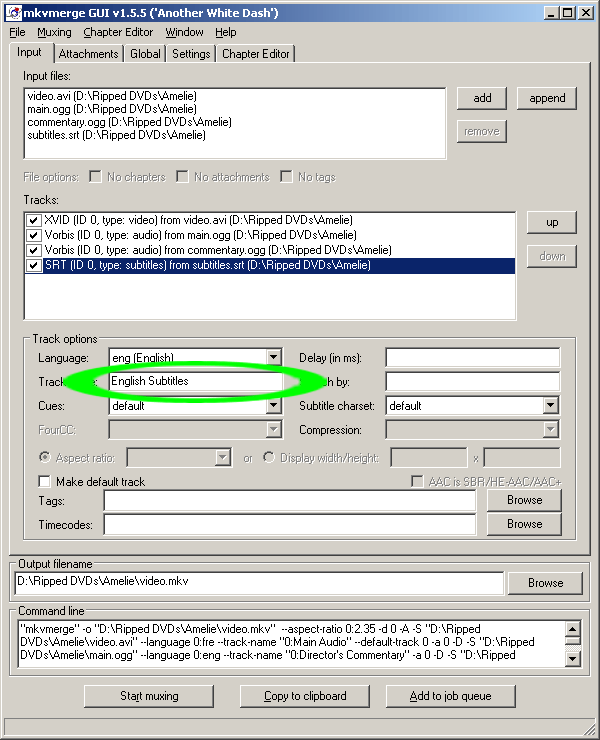 or
something similarly descriptive.
or
something similarly descriptive.
If there will be additional subtitle streams, check
 .
.
Add any additional subtitle streams in order of
importance.
From the
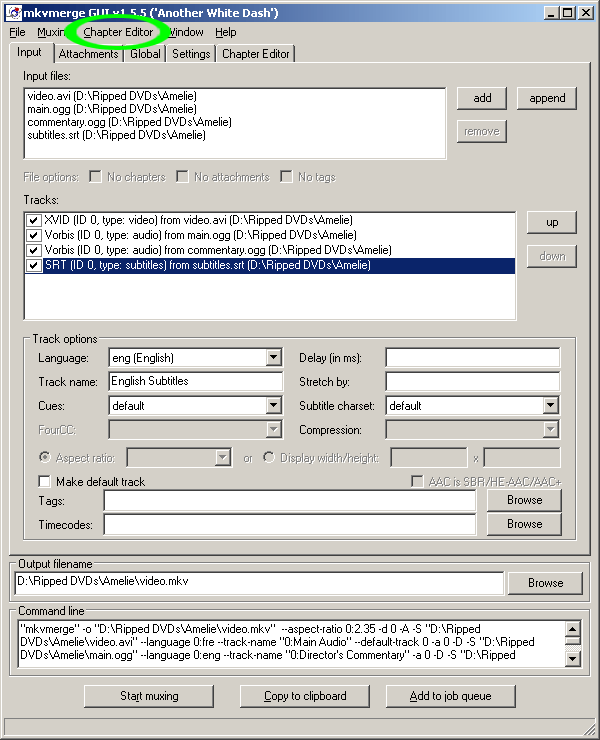 menu, select
 .
.
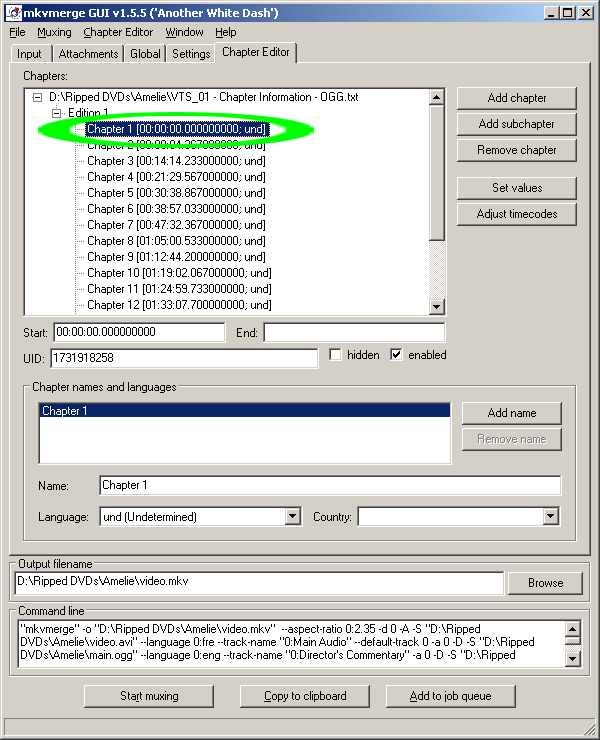
Load ![]() VTS_01 - Chapter
Information - OGG.txt.
VTS_01 - Chapter
Information - OGG.txt.
Click the name of the first chapter to
highlight
it.
If it has no name or is incorrect, type in the correct
name:

Then click on the next chapter, and repeat until all names
are entered. If you don't know the chapter names, you may
be able to find them at
All Movie Guide or
Barnes & Noble.
If you are encoding a series of episodes and they don't
have chapters, (or if they only have one chapter each)
don't worry about following any of the instructions
regarding chapters.
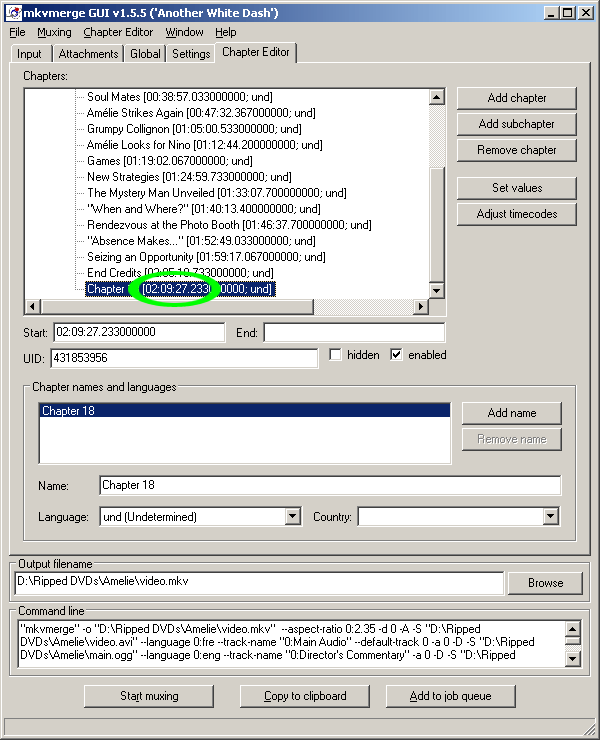
Check the final chapter to make sure it begins at the
right time. If it does not, the timecodes must be
adjusted.
In this example the
last two chapters begin past the end of the movie, which is
only 02:01:51 long. This can happen when the DVD has one or
more "invisible" chapters.
The example also shows 18 chapters when the movie only has
17.
Delete the extra chapter by highlighting it and clicking
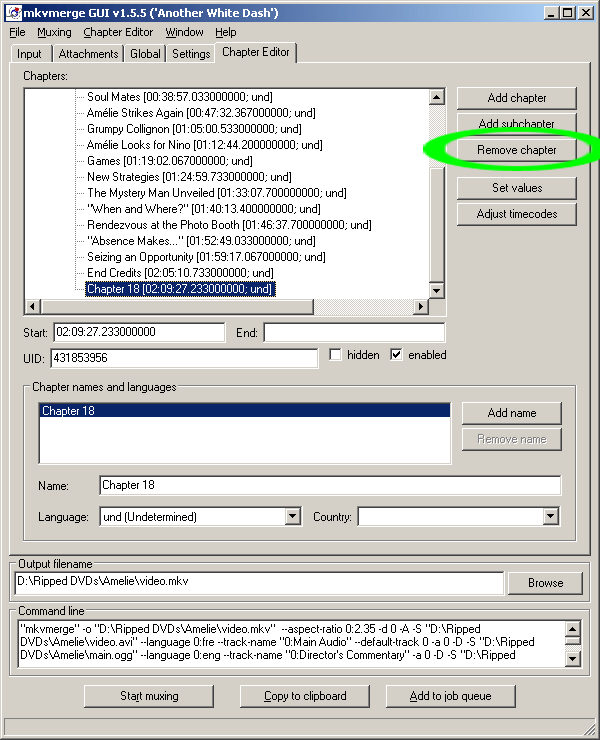 .
.
To find the invisible chapter(s), you must watch the DVD
with the timer on and look for time skips between
chapters.
It so happens that the DVD in the example has an invisible
chapter between chapters 7 and 8, where the timer skips
forward by 00:07:44.
To fix this, highlight the chapter right
after the invisible chapter and click
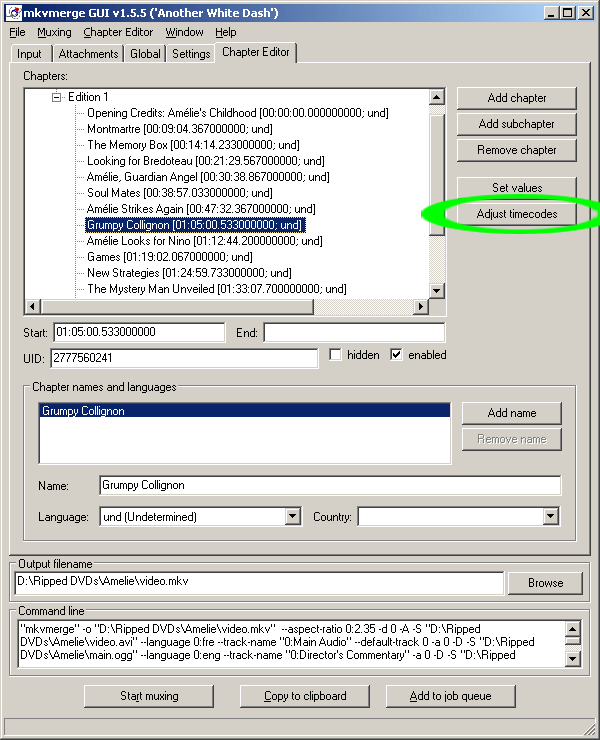 .
.
Then subtract the length of the invisible chapter and
click
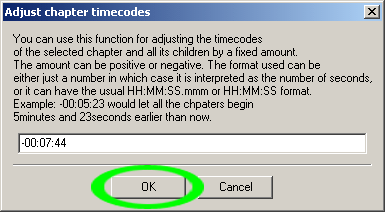 .
.
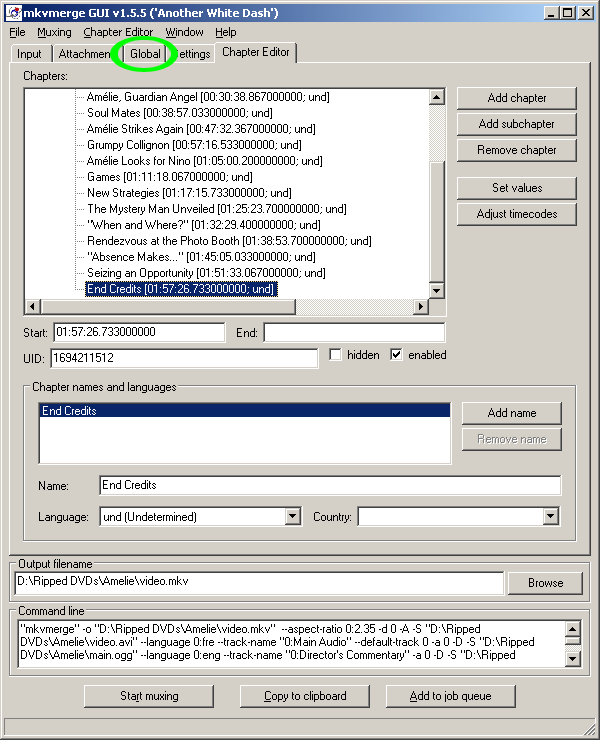
Repeat this process for each subsequent chapter until the
last one seems
correct.
Go to the  menu and select
 .
.
Name the file chapters.xml.
Go to the
 tab.
tab.
Enter the name of the movie.
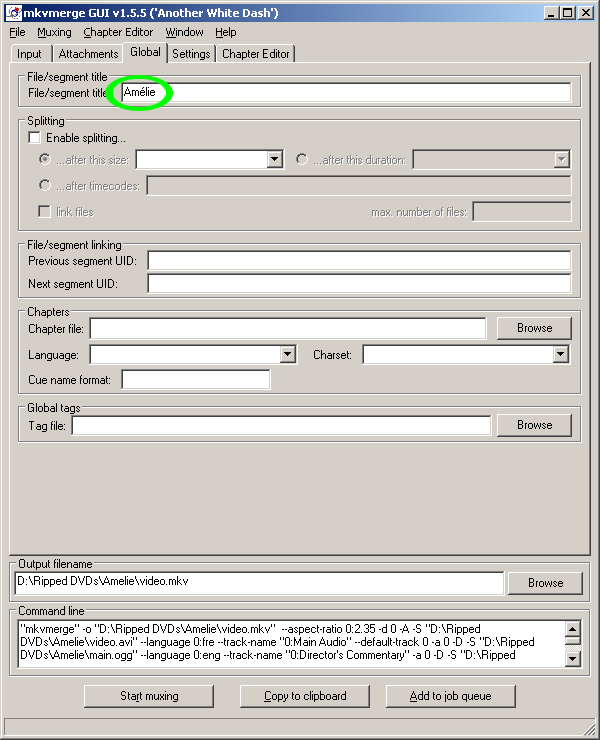
If you are encoding a series of
episodes, use the format
<series name> - s__e__ - <episode
name>,
where the first blank is the season number and the second
blank is the episode number.

Click
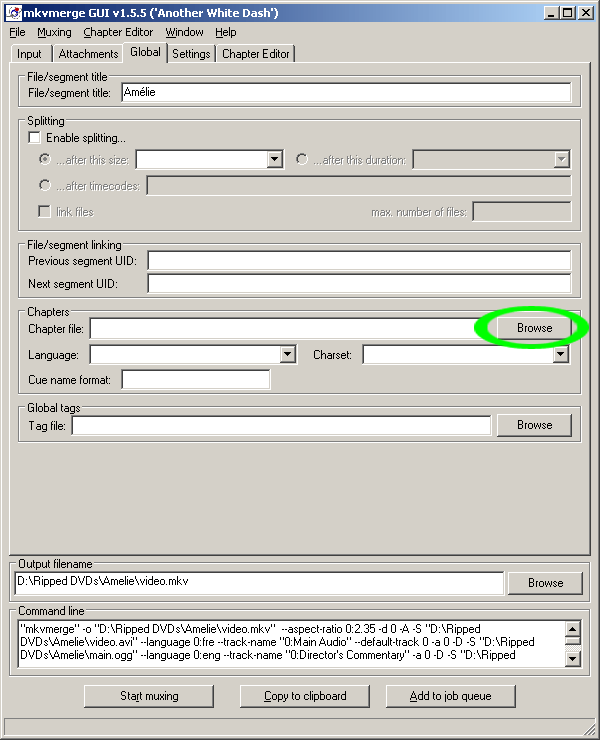 in the
Chapters section.
in the
Chapters section.
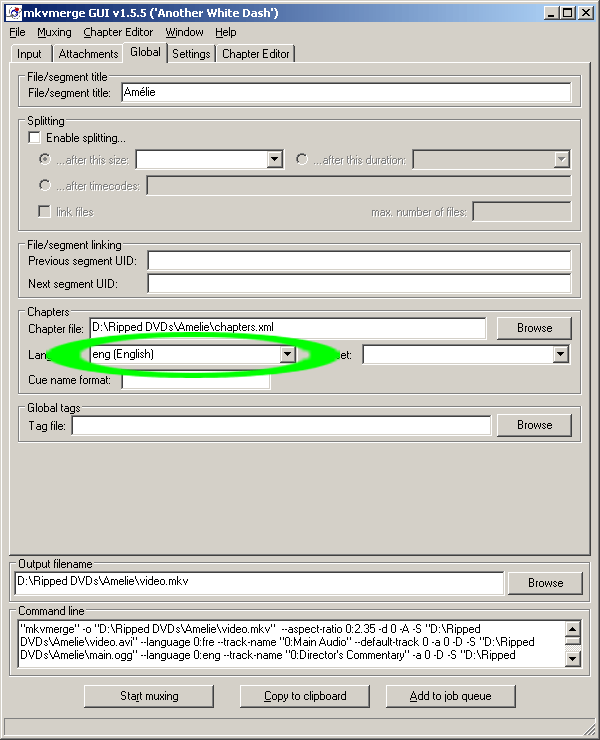
Open ![]() chapters.xml
chapters.xml
Select the proper language:
Skip past the orange sections.
If
you completed the Quality stage, begin
here.
Go to the Start menu and open
mkvmerge GUI.
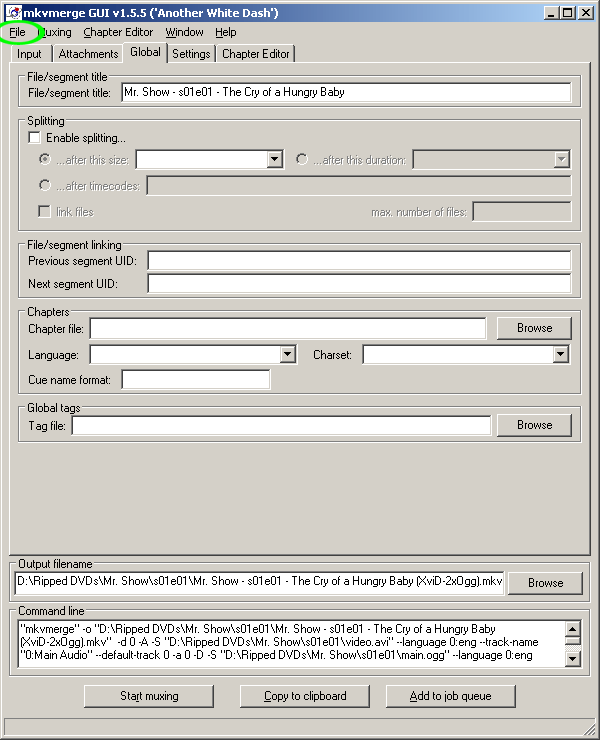
From the
 menu, select
 .
.
Load ![]() muxing.mmg.
muxing.mmg.
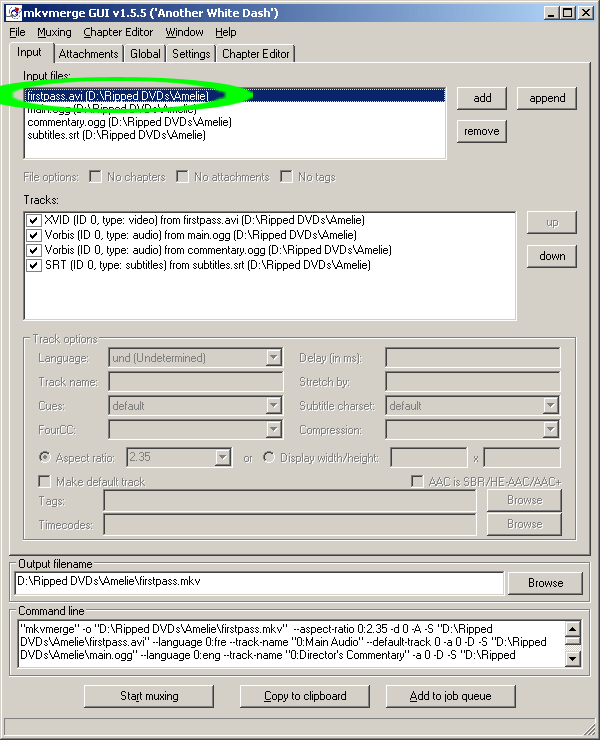
Click firstpass.avi in the
input files
section to highlight it.
Click
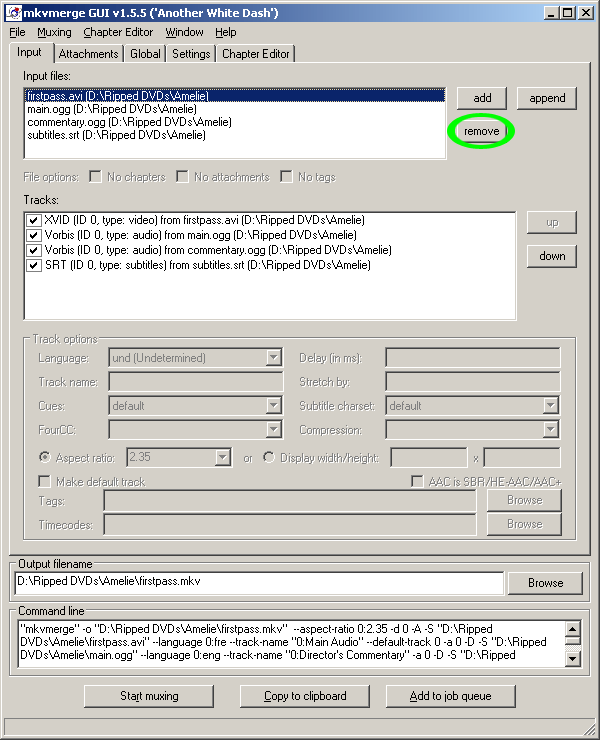 .
.
Click
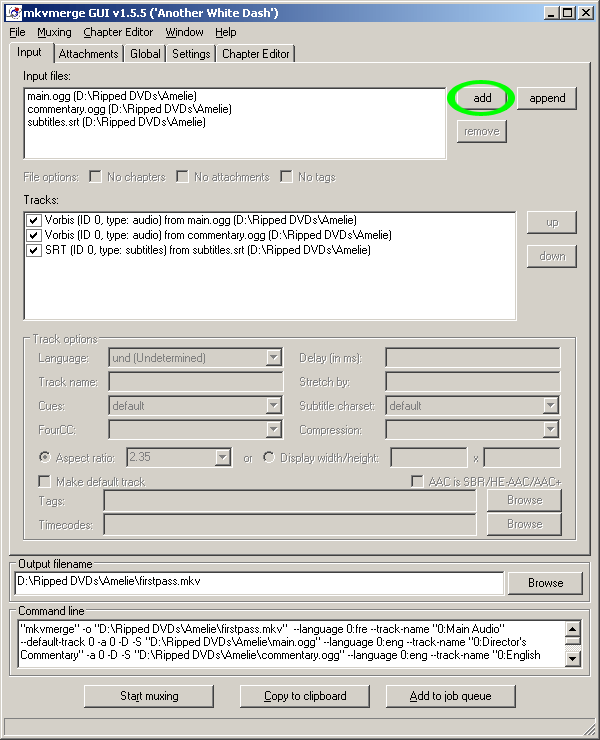 .
.
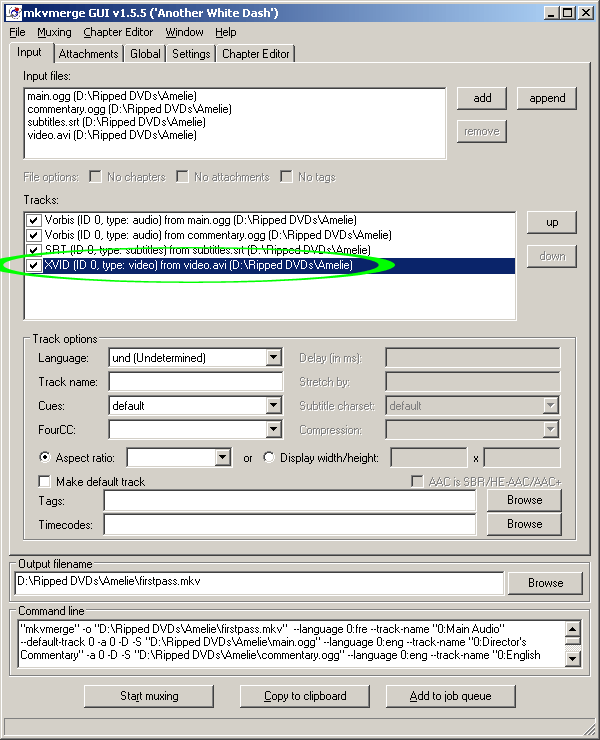
Add ![]() video.avi, then
click it in the
Tracks
section to highlight it.
video.avi, then
click it in the
Tracks
section to highlight it.
Click 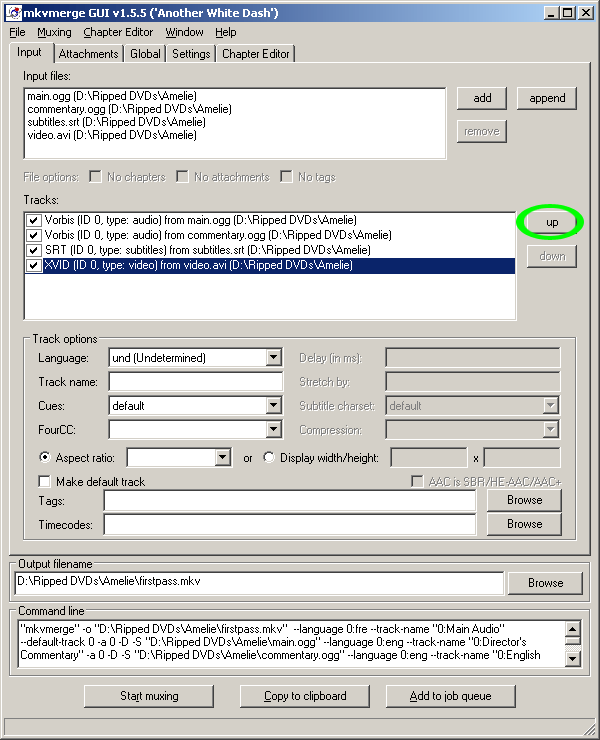 until video.avi
is at the top of the list.
until video.avi
is at the top of the list.
Specify the
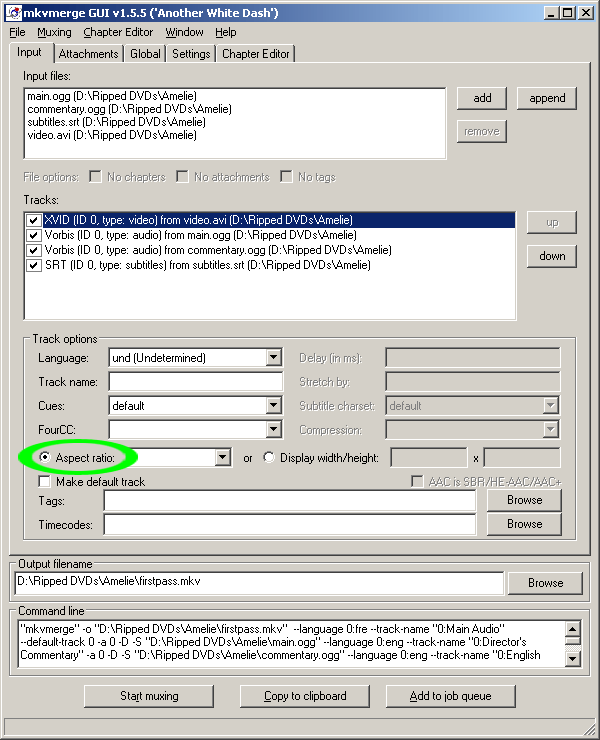 if necessary.
Open ![]() video notes.txt and
look at the "aspect ratio" line.
video notes.txt and
look at the "aspect ratio" line.
If it is 16:9, select

If it is 2.35:1, select
If there is no "aspect ratio" line, leave the field
blank.
Go to the
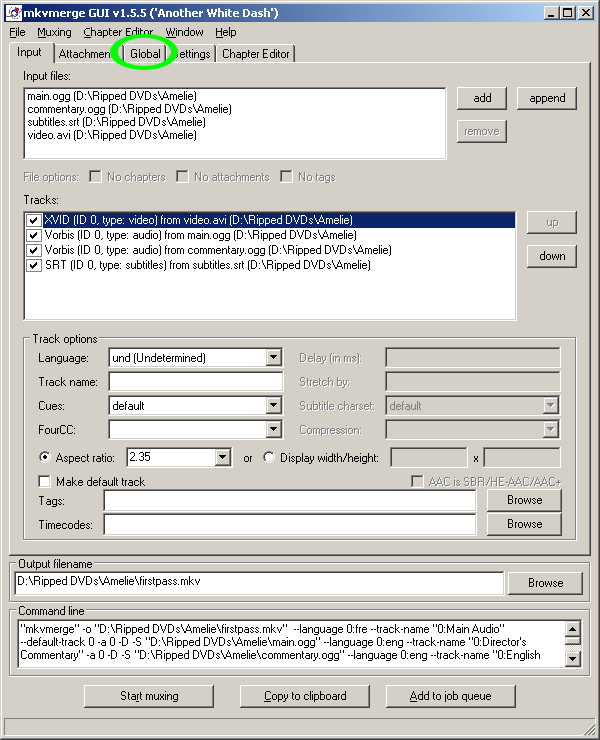 tab.
tab.
If you are encoding a series of episodes, scroll down to
the next brown
section.
If you are encoding a feature length movie, continue.
If you are using 2 CDs:
check
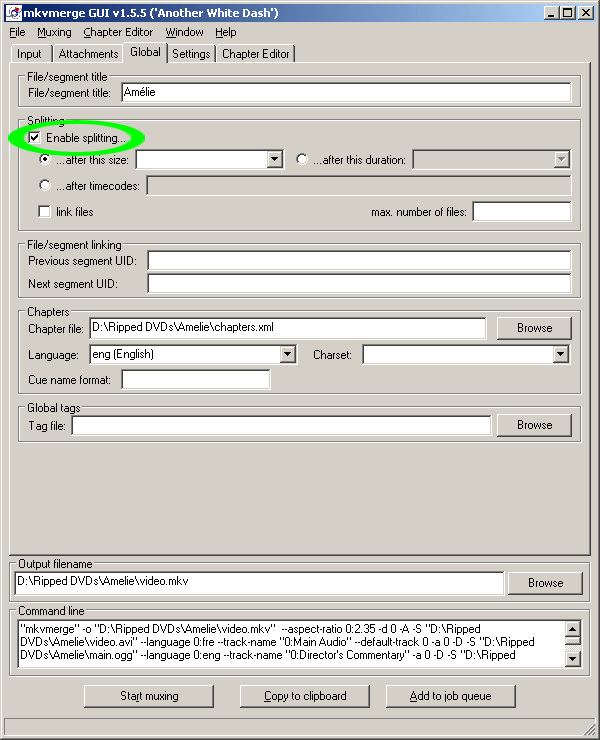 ,
,
select
 as the splitting
size,
as the splitting
size,
and enter
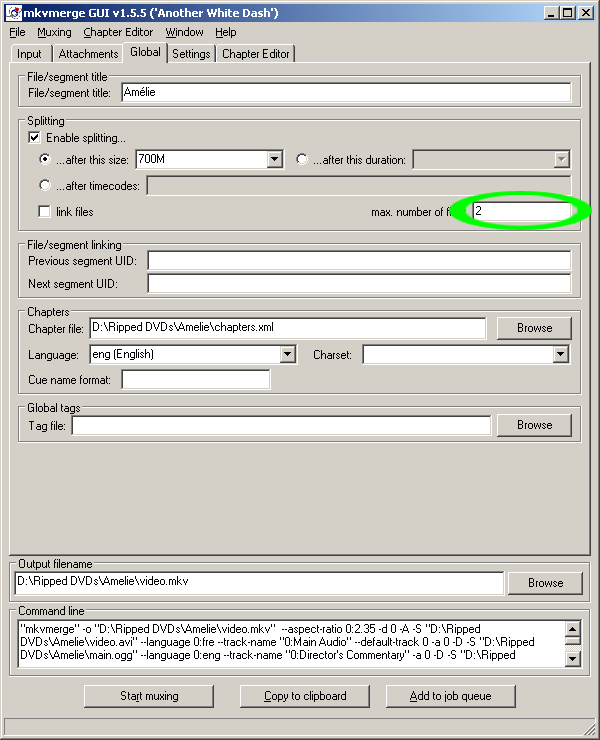 .
.
If you are using 3 CDs, select a maximum
number of 3.
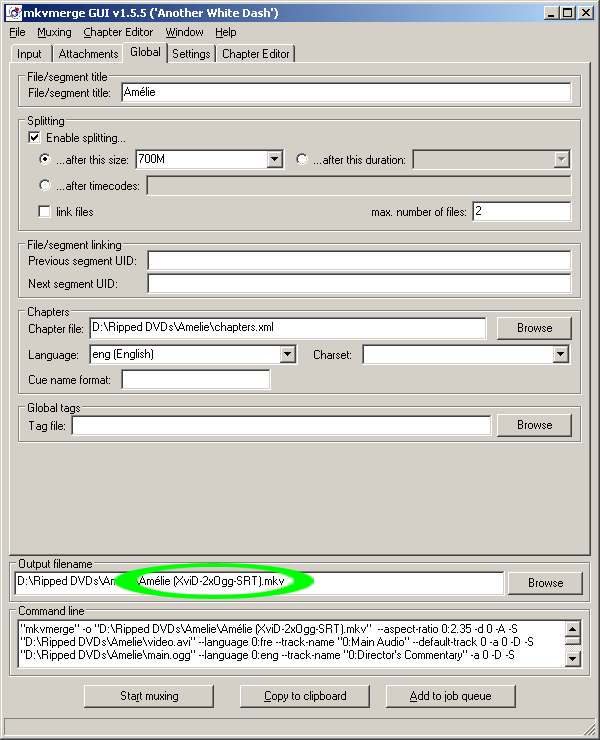
In the "Output filename" field, enter a file name in the
format
<title>
(XviD-_xOgg-_xSRT).mkv,
including the red text only if there are multiple streams
and the blue text only if there are subtitles. Fill in the
first blank with the number of audio streams, and the
second blank with the number of subtitle streams. For raw
subtitle images, use
_xSUB.
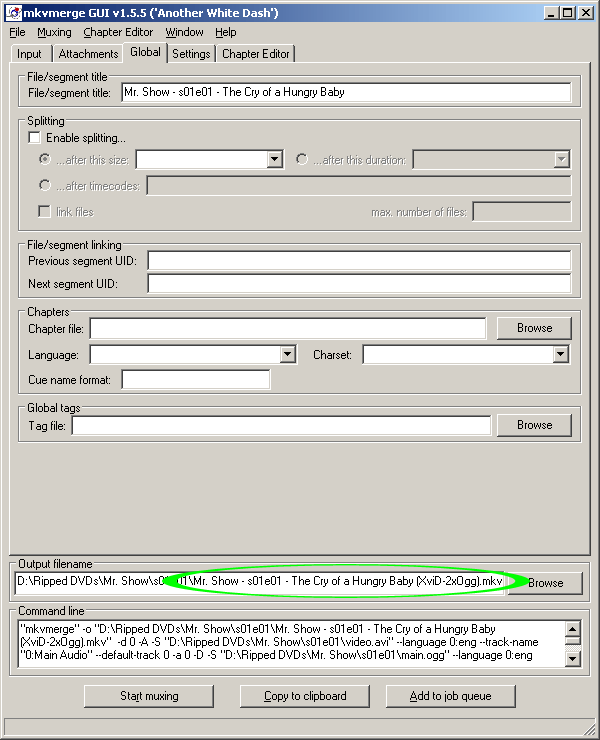
If you're encoding a series of
episodes, give the final file a name in the format
<series name> - s__e__ - <episode name>
(XviD-_xOgg-_xSRT).mkv,
where the first blank is the season number and the second
blank is the episode number. In the parentheses, include
the red text only if there are multiple streams and the
blue text only if there are subtitles. Fill in the first
parenthetical blank with the number of audio streams, and
the second with the number of subtitle streams. For raw
subtitle images, use
_xSUB.
Scroll down to the next brown section.
From the
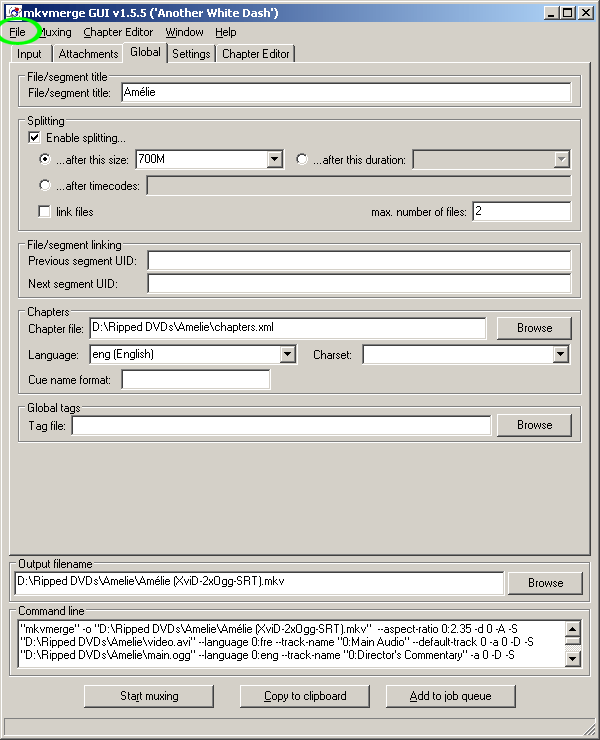 menu, select
 .
.
Save the finalized settings as muxing.mmg.
When you are ready, click
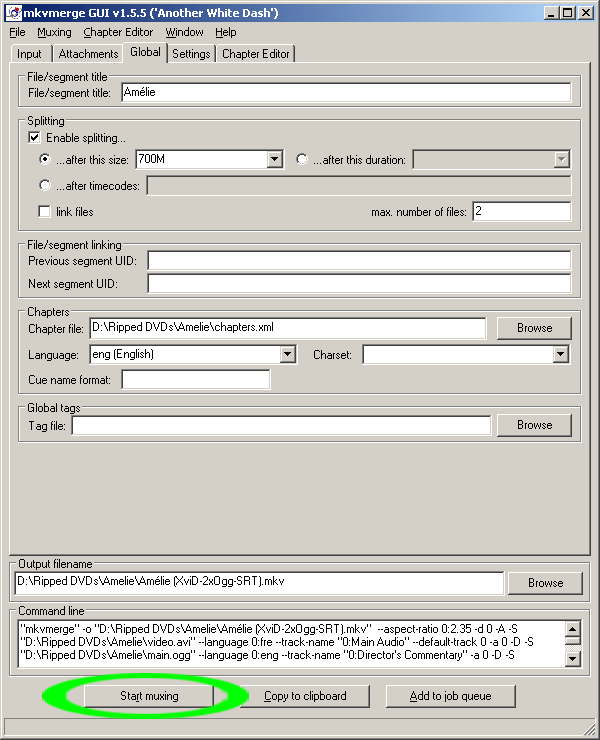 .
.
Muxing will take anywhere from 5 to 15 minutes.
When the process is complete, there will be one or two
fully-featured XviD movies in the ripping folder. If the
Quality stage was completed, the file(s) should be between
700 and 701 MB.
Skip past the brown sections.
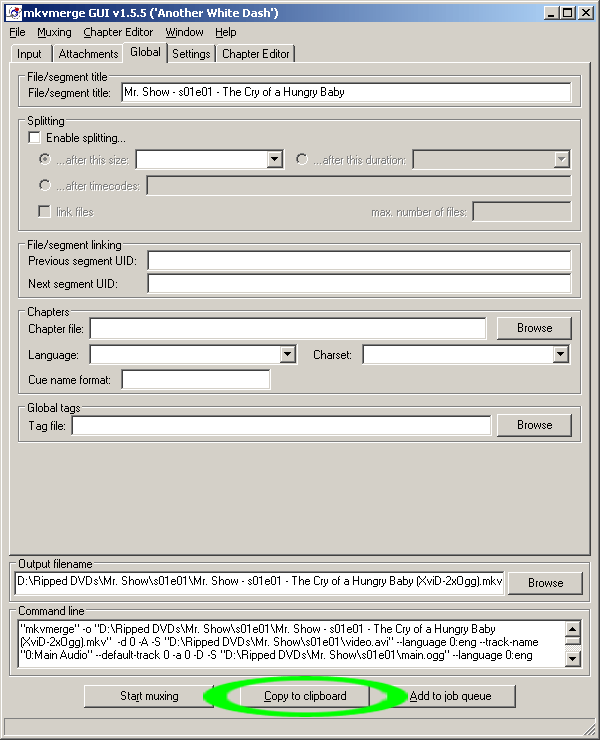
Click
 .
.
Create a new ![]() text file in the ripping folder.
text file in the ripping folder.
Open the text file and press Ctrl+v to paste in
the command line.

From the
 menu, select
 . This will clear all
the fields.
. This will clear all
the fields.
Go to the
 tab.
tab.
Add the files for the second episode, then copy
the command line into the text file.
Repeat for each subsequent episode.
(Click here to go back to the
beginning of the muxing instructions.)
Once a line has been added for every
episode, save the text file and rename it
![]() muxing.bat.
muxing.bat.
Double-click
![]() muxing.bat to
mux all the firstpass files. Muxing will take about 5
to 15 minutes.
muxing.bat to
mux all the firstpass files. Muxing will take about 5
to 15 minutes.
Ignore the next brown section.
If you completed
the Quality stage, begin here.
Right-click ![]() muxing.bat and
select "Edit".
muxing.bat and
select "Edit".
Replace all instances of "firstpass.avi" with
"video.avi".
Change each instance of "firstpass.mkv" to correspond with
the episode. Use the format
<series name> - s__e__ - <episode name>
(XviD-_xOgg-_xSRT).mkv,
where the first blank is the season number and the second
blank is the episode number. In the parentheses, include
the red text only if there are multiple streams and the
blue text only if there are subtitles. Fill in the first
parenthetical blank with the number of audio streams, and
the second with the number of subtitle streams. For raw
subtitle images, use
_xSUB.
Save ![]() muxing.bat, close
it, and double-click it.
muxing.bat, close
it, and double-click it.
Muxing will take about 5 to 15 minutes.
Close mkvmerge GUI and proceed to the next stage.
.


